


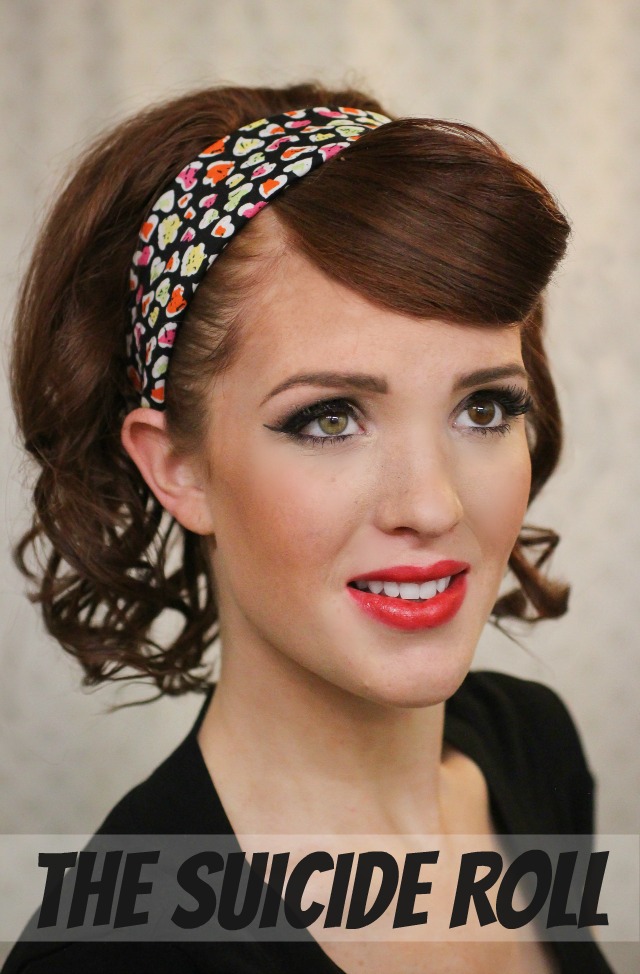
Back again! This tutorial is extra fun to be posting because I've actually had a bunch of requests lately for the suicide roll, so here it is for all you darlin's mingled with some bouncy curls! The roll is extra fun, because you really can mingle it with any everyday bun or set of regular bouncy curls to add a little spice to a regular day or night outfit, unlike most other retro styles that are a bit more, 'specialty'?:)


Besides the curling (which really isn't bad, especially if you hair's shorter than mine.haha) this comes together pretty quickly! The roll itself takes about five minutes, which is pretty awesome for the main componant of a retro pin-up hairstyle, so even if you don't try the whole style you really should give at least the roll a chance and of course come back and tell me how it turned out! Lets get going:
Supplies needed:
- boar bristled teasing comb
- 3/4-1" curling iron
- bobby pins
- strong hold hairspray
- a hair-tie
- clip for holding top back
Method:

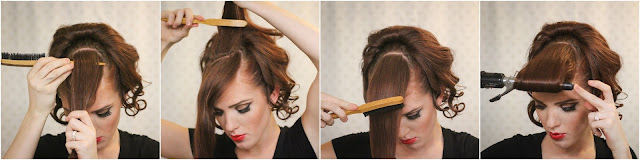
Step #1: Start sectioning out a bang section by drawing a line from the middle of one eyebrow, back over your crown and around to the other eyebrow, like in the picture:) Brush the hair forward and clip it up for later. Smooth the rest of your hair back into a middle ponytail (higher if you have shorter hair), spray the sides with some hairspray and smooth over with your palm for a polished look.
Step #2: Separate out a small section from the top of your ponytail to deal with next. Gently tease the section about 4-6 inches up, curl the whole section, spritz once, and pull it forward to rest on top of your head. Next I spread the section out as thin as possible and put a row of 3-4 bobby pins in about 2-3 inches forward from the ponytail base, and you've completed your first section!
Step #3: Repeat step #2 with the rest of your ponytail; lifting, teasing, curling, spraying, pulling forward, and pinning. After the first one only use 1 bobby pin per section, and make sure to spread them evenly from left to right as you go along. I had about 10-12 sections for mine. Once you've completed curling and pinning your whole ponytail, take all the hair and bring it back over itself. Use your teasing comb to smooth out the top, and scrunch the curls a bit as you spray to ensure great hold and bounce.
Step #4: Moving onto the suicide roll! Let your front hair down and separate out the top third of your hair, teasing gently from root to end and then proceeding with the last two thirds. Smooth it all forward and spray. Curl it widely and hold for 6-8 seconds before releasing.
Step #5: Use your fingers to smooth, guide, and curve your hair to the left, gently molding with the other hand as you go. Create a crease with your right hand and anchor your fingers to your forehead before using your left hand to wrap the rest of your hair around your anchored fingers till it runs out. Pull the fingers out and nestle your new little roll inside itself. pin generously, and give it all a good spritze with hairspray! Add on a cute bandanna or headband if desired, and you're all done!! Way to go!
I love how fun and girly this style can look, while still managing to look a little edgy and sassy too. ..did I just say sassy? that's a first! haha Okay well anyways, be sure and leave me some feedback on what you think about the style in general, if you give it a try, how it turned out, all that good stuff! Feedback is so important for me to hear from you guys, especially about my hair tutorials, and I love love those comments that many of you leave for me already so Thank You Thank You!!
Thanks also of course for visiting, seriously, and see you back again tomorrow! :)
xo, Emmy


Very cute tutorial. I'm not quite so sure about the glasses though, haha. -Hanna Lei
ReplyDeleteyou're right, I had to get rid of it.haha way too nerdy! :)
DeleteVery nice I'm enjoying your tutorials immensely! I use Sassy all the time it's my favorite word :). Keep up the wonderful blogging.
ReplyDeleteGreat hairstyle and wonderful tutorial, I've been enjoying these immensely. I use sassy all the time, it's my favorite word right now lol. Keep doing the wonderful job blogging, I'm enjoying it so much
ReplyDeleteI love this, can't wait to try it out!
ReplyDeleteCarly
www.lipglossandcrayona.com
I love this series that you did. Now, if only it were 1940...
ReplyDeletekatespitz.blogspot.com
You can pull off so many vintage looks! I don't know anyone else who can do it like you! I am so envious!
ReplyDeleteThis Lovely Little Day
Cute!! I love these tutorials!!
ReplyDeleteaclassystateofgrace.blogspot.com
Not sure how I never noticed the color of your eyes before, but I just love that one is green and one is brown. Am I seeing that right? It's so beautiful!
ReplyDelete